Getting started
Installing the WordPress translation plugin
Download WPGlotty from your account, upload it to WordPress, and enter your licence key. Five minutes, once.
Get the plugin
WPGlotty is not in the WordPress plugin directory. You download it from your own account, where the licence key is too.
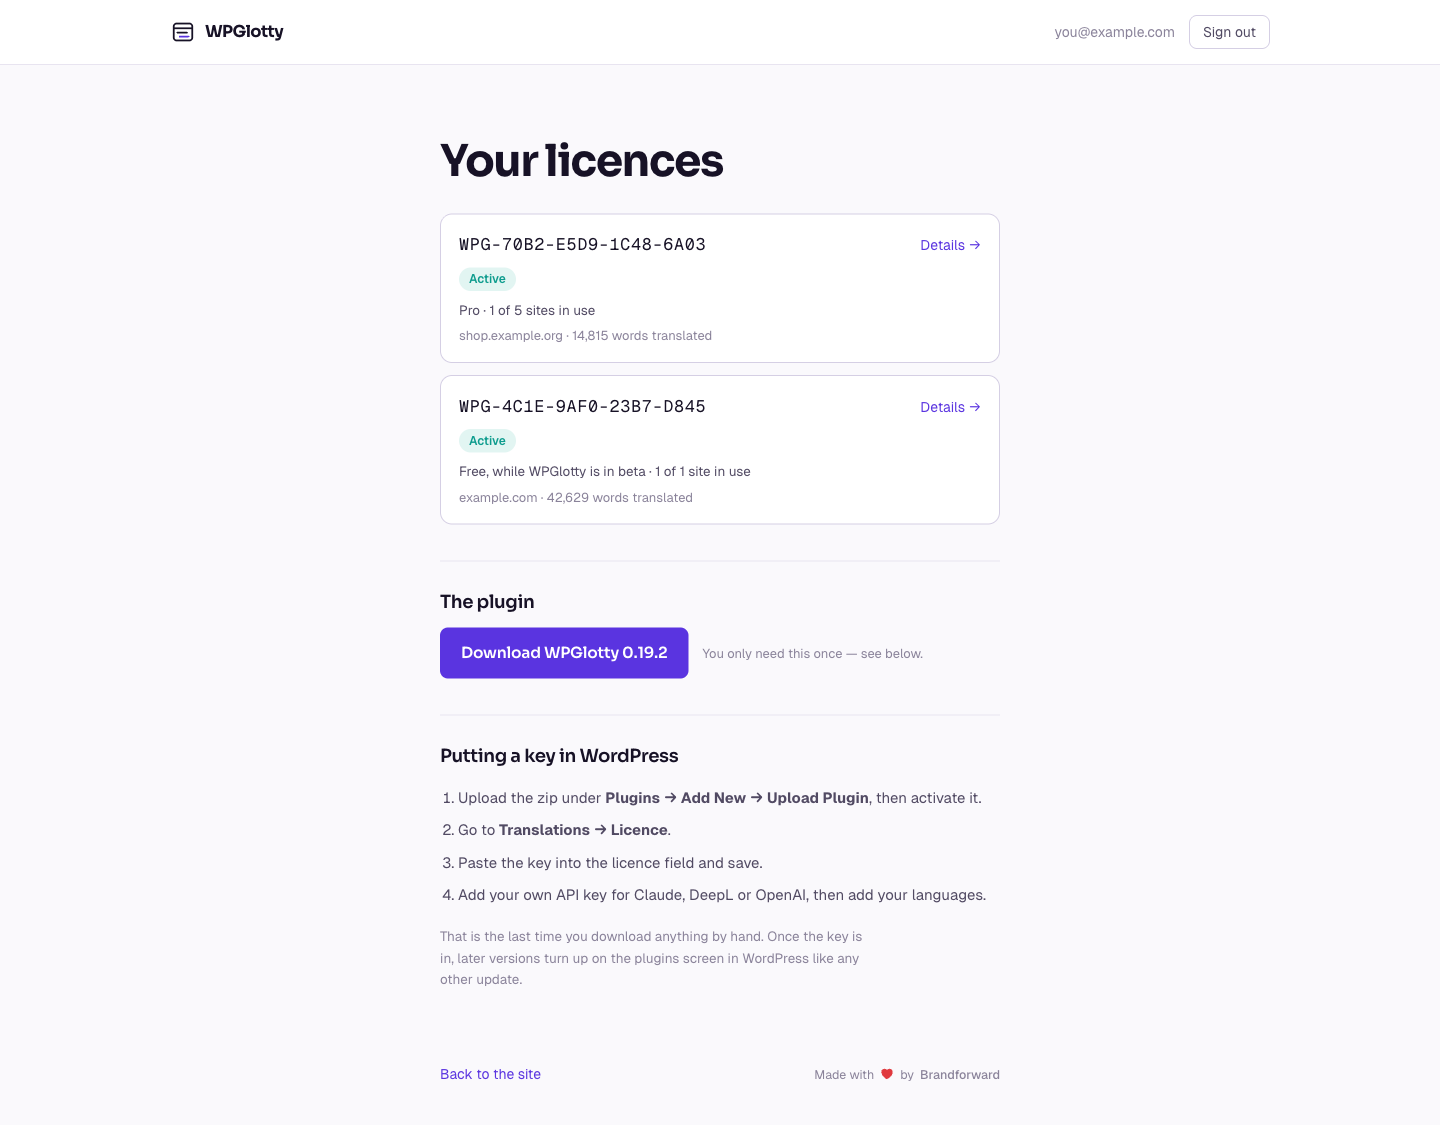
Sign in at wpglotty.com/account. Pick a plan and your licence key appears on your dashboard the moment the payment goes through.
Upload it to WordPress
In WordPress, go to Plugins → Add New → Upload Plugin, choose the zip, install and activate. WPGlotty needs WordPress 6.4 and PHP 8.1 or newer.
You only ever do this by hand once. After the key is entered, new versions turn up on the plugins screen like any other update.
Enter the licence key
Go to Translations → Licence and paste the key. It binds to the domain it is activated on, and one key activates one site.
Until a key is entered, WPGlotty will not make new translations and will not let you add an AI provider. Everything else works: the plugin installs, the screens open, and any translations already on the site keep being served.
// A key can also live in wp-config.php, where it cannot be
// changed from the dashboard. Useful for staging clones.
define( 'BDT_LICENCE_KEY', 'WPG-XXXX-XXXX-XXXX-XXXX' );
What happens next
With a licence in place, WPGlotty needs two more things before it can translate anything: an API key for a provider, and the languages you want.
Those are the next two articles. Together they take about five minutes.